Sunday, 13 March 2011
A thought for the future
Anyone interested in a proper late 12th century early 14th century behourd?
Saturday, 12 March 2011
Friday, 11 March 2011


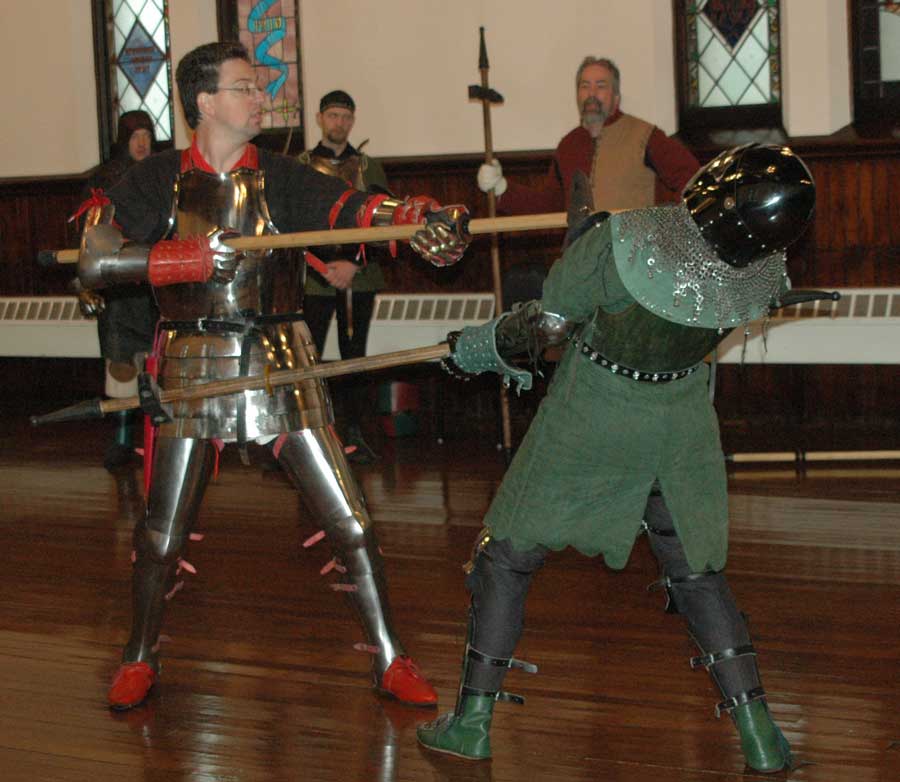
Apparently this sort of thing is deeply offensive to some folks...personally I couldn't care less.
I do wonder why though: perhaps it is do to your own uncertainty? Perhaps it is envy?
Who knows for sure...but I do think that those that protest the loudest often have the most to lose.
anywho, my footing is secure...how's yours?
Tuesday, 8 March 2011
videos
A few random sparring videos from last nights session, some experienced folks and some new folks...there's a fair amount of promise here as well as plenty to work on*:
http://www.youtube.com/watch?v=AyITo2sozBs
http://www.youtube.com/watch?v=hE7S5lCMkE4
http://www.youtube.com/watch?v=Z3iqaRinfXs
http://www.youtube.com/watch?v=T1vi6rNZf3w
*like my filming...next week some films me perhaps?
http://www.youtube.com/watch?v=AyITo2sozBs
http://www.youtube.com/watch?v=hE7S5lCMkE4
http://www.youtube.com/watch?v=Z3iqaRinfXs
http://www.youtube.com/watch?v=T1vi6rNZf3w
*like my filming...next week some films me perhaps?
Wednesday, 26 January 2011
I thought we might need more of this
A simple tutorial...part 1
Creating your own padded "Masters jacket"
You will need:
A suitable fencing jacket (I used a front opening version available from Absolute Fencing.)
A few yards of closed cell foam (I used 5mm thick foam purchased from Langans)
A few yards of suitable cloth (I used cotton broadcloth)
A few yards of Velcro
Needles and thread, scissors, etc.
Card stock
First get yourself a suitable jacket (ensuring that it is at least a size larger than you normally wear for minimal padding). I used an Absolute brand jacket solely as a cost cutting exercise...use what ever works and is affordable for you.
 Once you have your obtained your component parts, you are ready to start. Begin by creating a pattern for your padding out of card stock. As every jacket (and individual) is different I will not provide a pattern here...start by laying out your jacket over the card stock and trace the outline. Then simply remove the portions of card that are not required to form your pattern. Don't forget to try on your jacket with the card stock pattern inside...this will help you decide what areas still need to be trimmed. You will want to avoid bunching/wrinkles wherever possible to ensure a decent fit. Make sure that your padding covers those areas that you would like to protect. I would humbly suggest that the clavicle, sternum, cervical vertebra, and kidneys are the minimum locations on the torso that I would protect.
Next, sew covers for your foam inserts using the patterns you made earlier...don't forget to make them slightly larger to allow for the thickness of the foam and the stitching.
 Now you are nearly finished...just fit the foam inside the covers and sew up the openings...this is the last chance to ensure that everything fits, so have a fitting.
Last step...no you aren't finished quite yet. These pads aren't going to stay in place on their own are they?
No, no they aren't slacker.
Get the Velcro you purchased earlier and sew it along the "high stress" areas of the pad and it's matching location on the jacket (remember to sew the "soft" side in the jacket)...this way the pads will stay in place and can be removed to allow for laundering of the jacket.


Now you're done...now go fight.
Maybe next time we will cover the arms.
Subscribe to:
Posts (Atom)